Your Quick-Start Guide to Prepping Stems for Mix: Do This Before Booking a Recording Studio in Reno NV
Your Quick-Start Guide to Prepping Stems for Mix: Do This Before Booking a Recording Studio in Reno NV
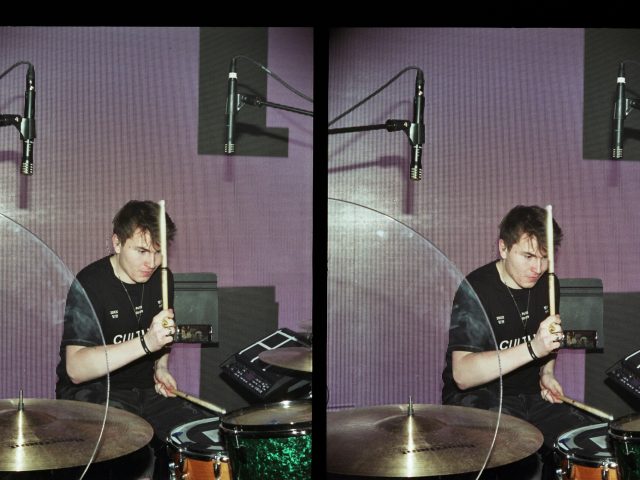
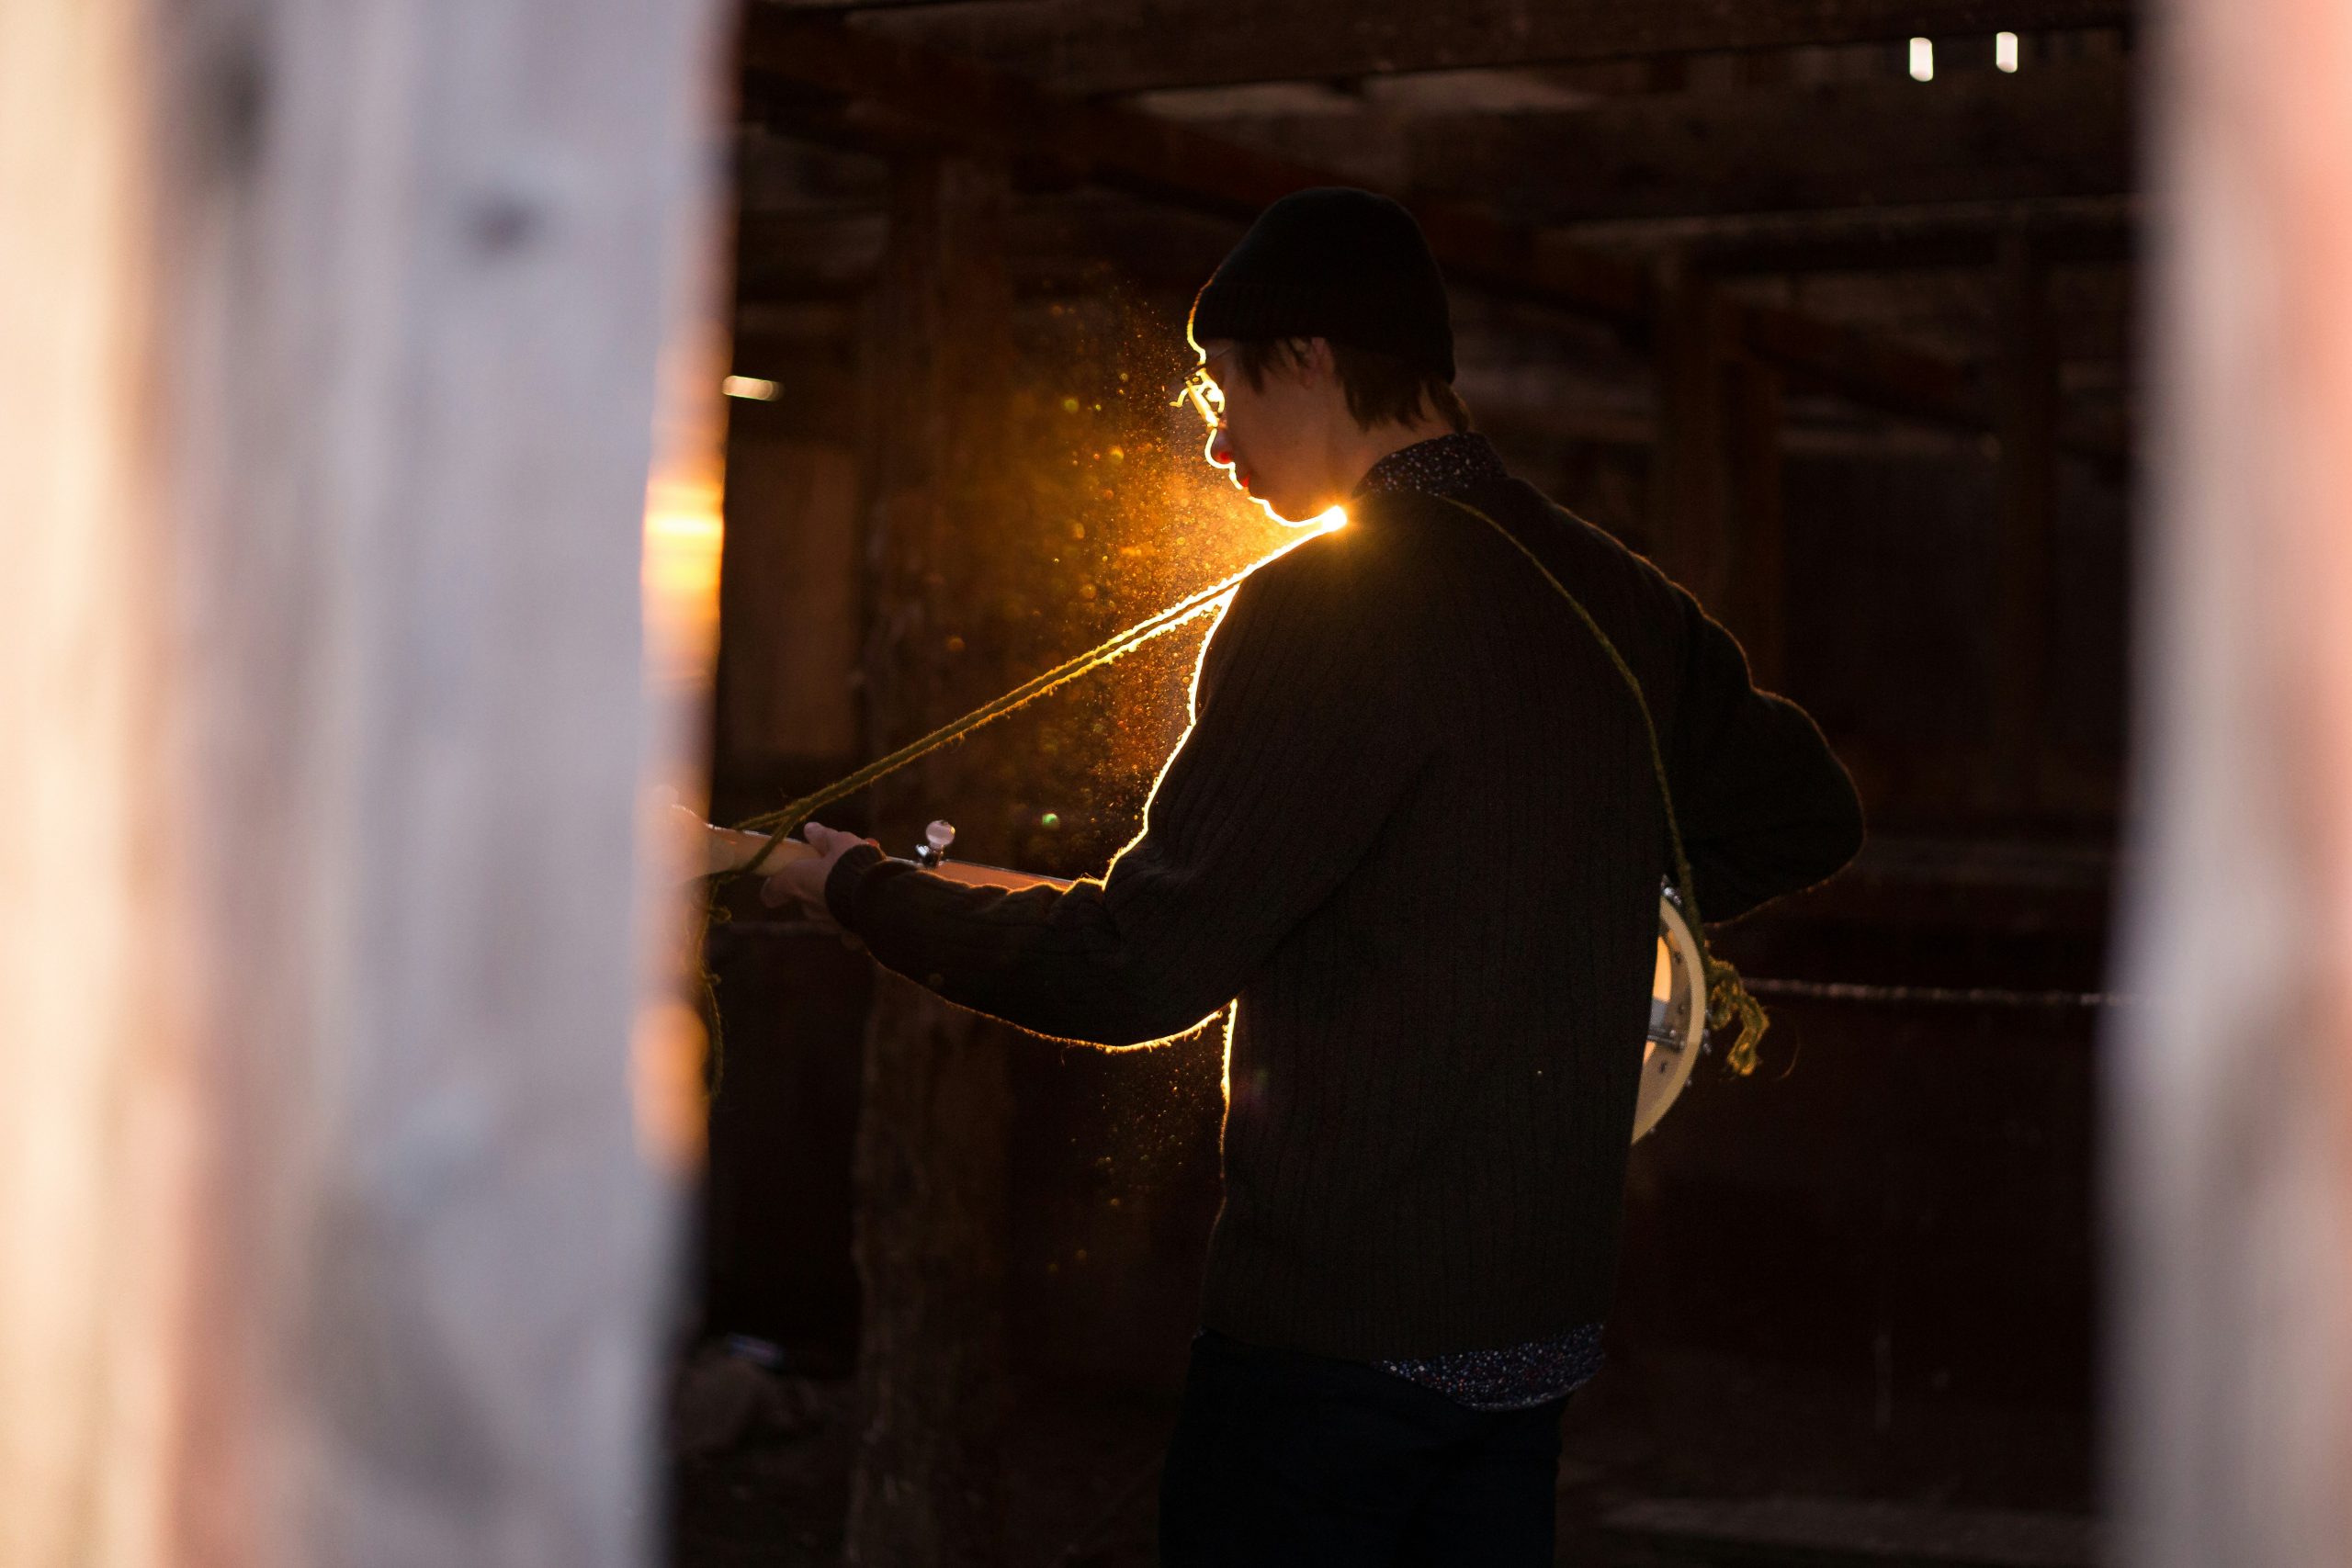
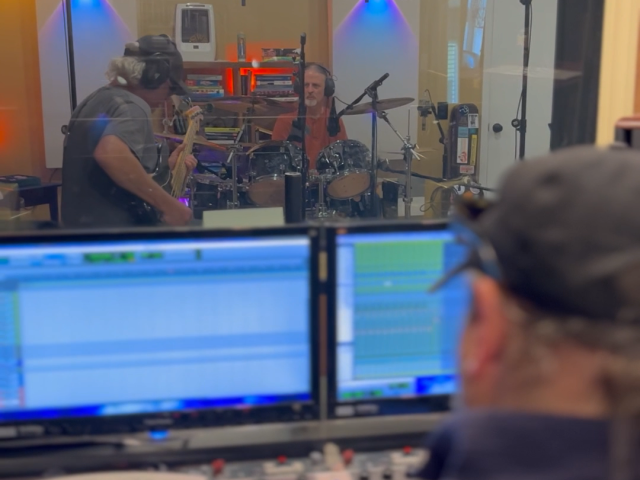
You’ve spent weeks, maybe months, pouring your soul into your latest tracks. You’ve refined the lyrics, nailed the bridge, and captured that perfect take in your home setup. Now, you’re ready for the big leagues, bringing those tracks to a professional recording studio in Reno to get them mixed and mastered into a radio-ready masterpiece.
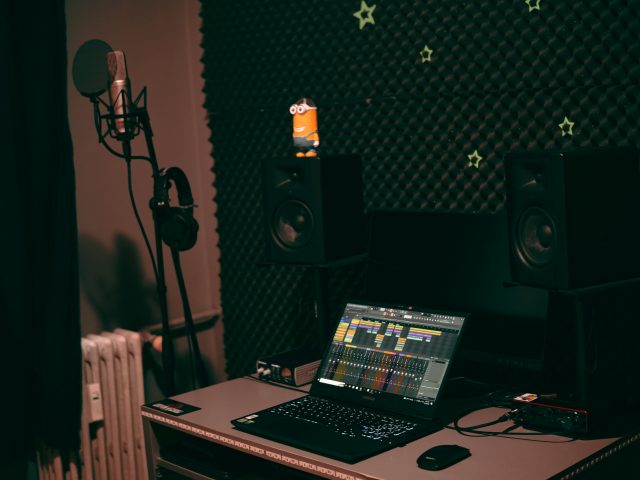
At Abbey West Recording, we love that “new project” energy. There is nothing quite like the feeling of opening up a fresh session and hearing the potential in a client’s work. However, there is one thing that can kill that momentum faster than a broken string: disorganized files.
Preparing your “stems” (the individual tracks of your song) before you set foot in a Reno recording studio isn’t just about being polite to your engineer. It’s about protecting your investment. When you book time at a professional facility, you want every dollar to go toward creative decisions, enhancing the mood, balancing the frequencies, and finding that “magic” sound, not toward the engineer spending two hours renaming files called “Audio_01_Copy_Final_2.”
Here is your essential quick-start guide to prepping your project for success at Abbey West Recording.
1. Labeling: Give Your Engineer a Roadmap
Imagine walking into a grocery store where none of the aisles have signs and all the cans have the labels ripped off. That’s what it’s like for an engineer to open a session full of tracks named “Track 1,” “Vocal 1,” and “Guitar_New.”
Before you export your stems, take a few minutes to rename them clearly. A good naming convention looks something like this:
- Kick_In
- Snare_Top
- Bass_DI
- Gtr_Rhythm_Left
- Lead_Vox_Main
- Background_Vox_High_Harm
When your files are labeled clearly, your engineer can instantly group your drums, color-code your vocals, and get straight to the fun part. Professional recording studios in Reno work much faster when the “roadway” is clearly marked.
2. Consolidate Your Tracks to “Start at Zero”
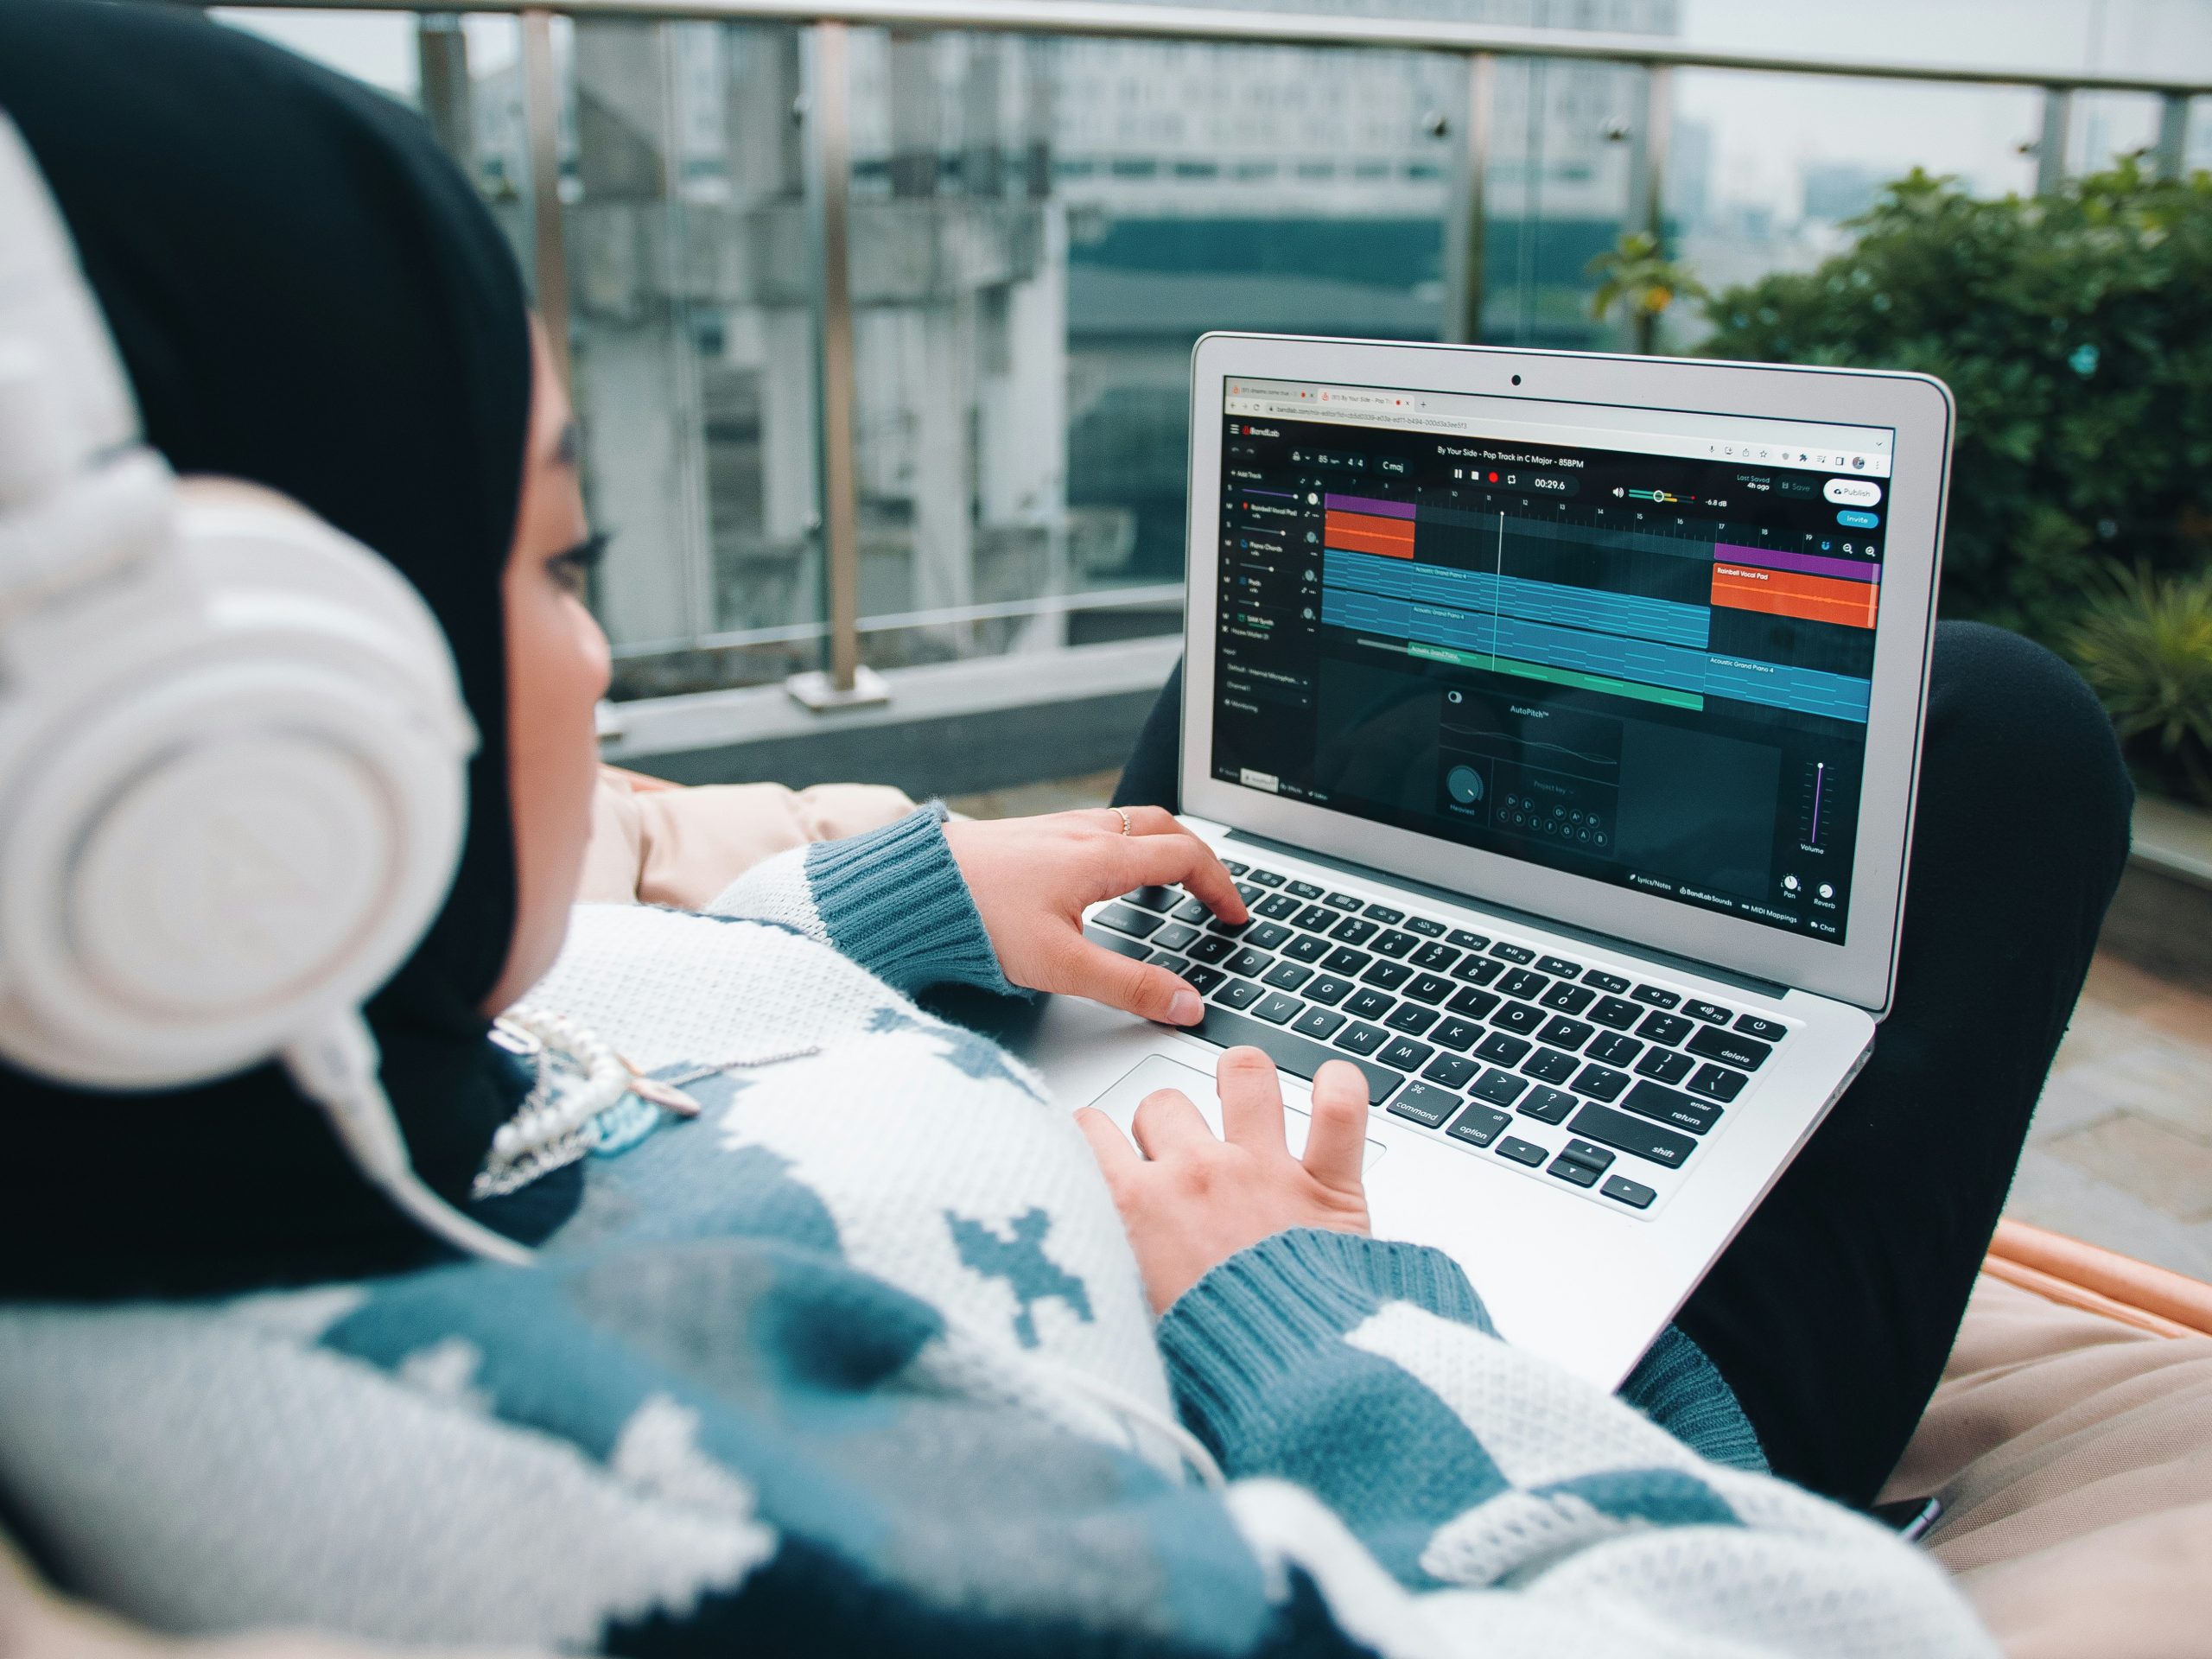
This is perhaps the most important technical step in the process. In your DAW (Digital Audio Workstation), you likely have clips scattered all over the timeline. If you simply export those individual clips, they won’t line up when they are imported into a new session at a recording studio.
To fix this, you need to “consolidate” or “bounce” your tracks so that every single file starts at the exact same point, Time Zero (00:00:00).
Even if the shaker doesn’t come in until the second chorus, its audio file should still start at the very beginning of the song with silence. This ensures that when we drop your files into our system at Abbey West, everything is perfectly in sync. No guessing games, no “does this vocal hit on beat three or beat four?”, just perfect alignment.

3. The “Dry” Debate: Removing Processing
We get it, you’ve been living with that cool underwater-sounding reverb on your vocals for months. But here’s a pro tip: Unless a specific effect is a fundamental part of the sound (like a signature delay or a specific distorted texture), it’s usually best to export your stems dry.
Why? Because once reverb or delay is “baked” into an audio file, it’s almost impossible to remove. If the reverb you used at home sounds muddy on our high-end monitors, we’re stuck with it.
If you’re unsure, the best move is to provide both. Send a dry version of the track and a “wet” version with the effects included. This gives your engineer the flexibility to use your vision as a reference while having the clean audio to work with using our professional-grade outboard gear and plugins.
4. Choose the Right File Format
Quality matters. To ensure you’re getting the most out of your session at a Reno recording studio, you need to export your files in a high-resolution, uncompressed format.
At Abbey West Recording, we recommend:
- Format: WAV (Never MP3!)
- Bit Depth: 24-bit (or 32-bit float)
- Sample Rate: 48kHz (or whatever your project was originally recorded at)
Exporting as a 24-bit/48kHz WAV file ensures that we have the maximum dynamic range and frequency response to work with. If you aren’t sure what your project settings are, check your DAW’s project preferences before you start the export process.
5. Provide a Reference Mix and a Tempo Map
Don’t leave your engineer in the dark. Even a “rough mix” that you bounced from your laptop is incredibly helpful. It tells us what you’ve been hearing, which elements you think are most important, and the general vibe you’re going for.
Along with your rough mix, please include:
- The Tempo (BPM): If your song changes tempo, a MIDI tempo map is a lifesaver.
- The Key of the Song: Especially helpful if we are doing any vocal tuning or harmonic enhancement.
- A Reference Track: Send us a link to a professionally released song that has the “vibe” you want. If you want your drums to sound like a 1970s funk record, tell us!
6. Do the “Import Test”
Before you upload your files to a cloud drive or bring your hard drive into the studio, do one final check. Open a completely blank project in your DAW and import the stems you just created.
- Do they all start at the same time?
- Are any tracks missing?
- Is there any weird digital clipping or “pops” in the files?
- Did you accidentally export a track with the “Mute” button on?
Taking five minutes to double-check your work can save an hour of troubleshooting during your session.
How This Saves You Money
You might be wondering, “why am I doing all this work? Isn’t that what I pay the studio for?”
Here is the reality: at Abbey West Recording, we want to give you the best possible product. If you book a four-hour mixing block and we spend ninety minutes just trying to figure out which guitar track is which and why the bridge is out of sync, that is ninety minutes of creative energy down the drain.
When you arrive prepared, we can spend that time:
- Dialing in the perfect vocal chain.
- Using our analog gear to add warmth and character.
- Experimenting with creative effects that take your song to the next level.
By doing the prep work at home, you’re essentially buying yourself more “art time” in the studio. It’s the smartest way to handle your budget when working with any recording studios in Reno.
Ready to Hit Record?
Whether you’re a solo singer-songwriter or a full band, proper preparation is the bridge between a “demo” and a “hit.” At Abbey West Recording, we’re here to help you cross that bridge. Our goal is to make the process as seamless and enjoyable as possible, so you can focus on the music while we handle the technical heavy lifting.
If you’re ready to take your project to the next level, we’d love to chat. Check out our full list of services or shoot us an email if you have more questions.
Booking a recording studio Reno is a big step in any musician’s career. Let’s make sure you’re ready to make the most of it. Contact us today to schedule your session, and let’s get to work!